We may earn money or products from the companies mentioned in this post at no additional cost to you.

Explore the World Through Your Lens
Are you ready to become a travel photographer? Capturing the perfect shot on your travels is an amazing way to create unforgettable memories, but it can be tricky to master. If you want to take your photography game to the next level, you need to understand the technical and creative aspects of the art of travel photography. We’ve got 10 tips that’ll help you get the perfect shot every time!
- Use the Rule of Thirds to determine subject placement
- Experiment with contrasting colors to make subjects stand out
- Crouch down or climb to get different perspectives
- Set large aperture for shallow depth of field
Composition and Creativity

You can create stunning travel photos by experimenting with composition and creativity, such as using the Rule of Thirds or contrasting colors. Try positioning your subjects along the Rule of Thirds grid to add interest and depth. Contrasting colors can make your subject stand out, adding drama and impact. Creative composition techniques can be used to capture unique images. Consider where the focal point should be and switch it up for different visuals. Make sure to experiment with different angles and perspectives. Crouching down or climbing up can give you different perspectives than you’d normally get. Look for angles that haven’t been seen before and use framing techniques, like flowers or aerial shots, to draw the viewer’s attention to your subject. You can also adjust camera settings to control the background blur and play with the light to create beautiful, unique photos. Using Aperture Priority mode, set a large aperture for a shallow depth of field and focus on your subject to create a beautiful bokeh effect. To get the most out of your photos, get to know your camera and settings and experiment with different white balance presets. With a bit of practice, you’ll be able to capture unique and beautiful photos that will last a lifetime.
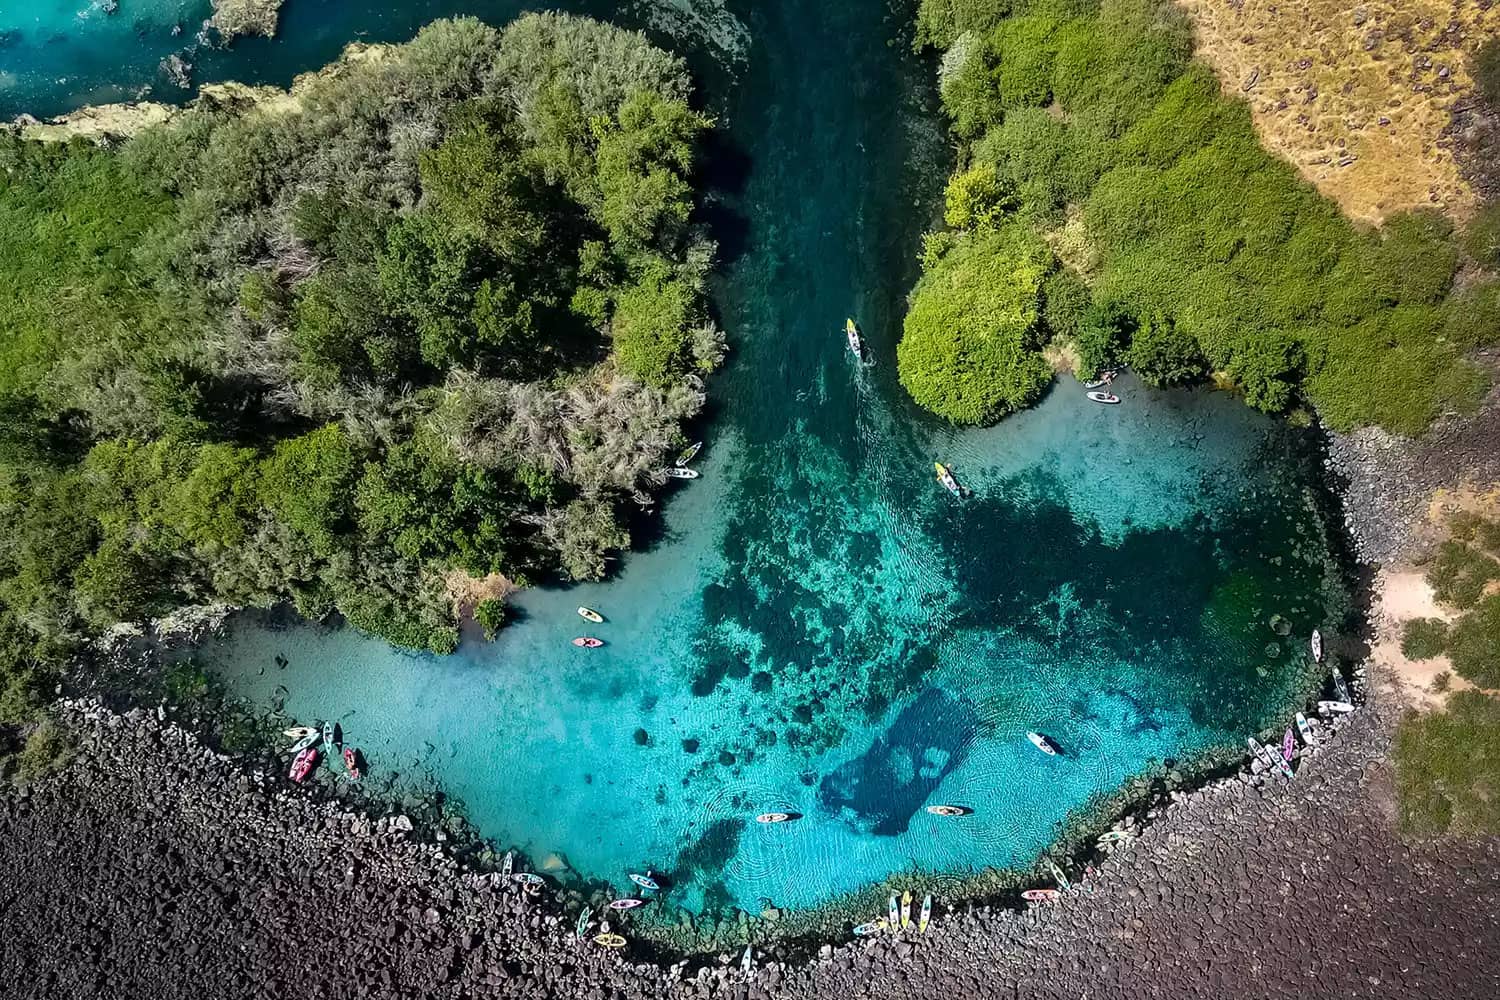
Unique Angles and Perspectives

Explore different angles and perspectives by moving around the scene and looking for angles that haven’t been captured before. By changing your viewpoint, you can capture images with a unique perspective. Try crouching down or climbing to a higher point to get different angles. Shoot from the ground or underwater for an entirely different look. Look for interesting framing opportunities with flowers or aerial shots. Capture the world from different points of view to create a dynamic photo.
When shooting from a low angle, make sure to keep the horizon straight. This will help you to avoid inadvertently distorting the image. If the horizon is not straight, it can create a dizzying effect that detracts from the photo.
It’s also important to consider the depth of field when composing your image. Large apertures will create a shallow depth of field, making your subject stand out. Focus on the subject and you’ll get a beautiful bokeh effect.
Finally, make sure to keep your camera still while taking the shot. Blurry photos can ruin a shot. If you don’t have a tripod, look for alternative ways to stabilize your camera. Setting a higher ISO may also be necessary in low light situations.
Aperture Mode and Lenses

Frequently use Aperture Priority mode to control background blur and set a large aperture for a shallow depth of field. Aperture Priority mode allows you to control the amount of light that enters the lens, which has a direct impact on the depth of field or the area of focus in a photo. When setting a large aperture, the background will be blurred, making the subject stand out. Prime lenses are great for creating a shallow depth of field since they can open up to larger apertures. Prime lenses are also versatile and can be used for various types of photography, from portraits to landscapes.
Aperture Priority mode also allows you to adjust the shutter speed and ISO. Both the shutter speed and ISO will affect the overall exposure of the photo. A faster shutter speed will allow you to freeze a moment in time, while a slower shutter speed will create a blurred effect. The ISO setting will determine how sensitive the camera is to light, which is important when shooting in low-light conditions.
Experimenting with different apertures and lenses will help you produce creative and unique photos. You can also use Aperture Priority mode to control the amount of background blur, creating a professional-looking photo. With a little practice and experimentation, you will be well on your way to mastering the art of photography.
Camera Stability

Avoid camera blur by staying still while taking photos, and use objects to balance the camera. While this may seem like a no-brainer, it is important to practice good camera stability when taking photos. Taking a few moments to steady the camera can make all the difference in the quality of your shots. Even the slightest movement can result in a blurry photo. Instead of using a tripod, which is not always feasible in certain scenarios, you can use objects like a wall or a table to help stabilize the camera. This will help ensure that you get sharp and clear photos.
Additionally, you can adjust the ISO settings on your camera to reduce camera shake. Higher ISO levels can help reduce camera blur in low light scenarios. You may also want to consider using slower shutter speeds for scenics or landscapes. This will help to capture more light and create sharper images.
Another way to reduce camera blur is to use a lens that has image stabilization. This technology works by shifting the lens elements slightly to compensate for any movement. Many lenses with image stabilization are able to reduce camera shake by two or three stops.
White Balance Experimentation

Experiment with different white balance settings to enhance the colors in your travel photos. White balance is an important setting for photographers to master. It helps to set the color temperature of a photo and ensure accurate colors. Different lighting conditions require different white balance settings, so it’s important to understand how to adjust it accordingly. To find the best white balance setting for a particular scene, experiment with the various presets or manually adjust the white balance. You can also use a grey card or white balance filter to help you find a more accurate balance.
By adjusting the white balance you will be able to capture the colors of a scene more accurately and naturally. For example, a scene shot during sunset will require a different white balance than a scene shot during the day. Understanding how to set the white balance for different lighting conditions can help you capture more accurate images. It’s also beneficial to experiment with different white balance presets to get a feel for how they affect the colors of a photo.
White balance is an essential setting for travel photographers to master. By experimenting with different white balance settings, you can capture the colors of a scene more accurately and create more impactful photos. With practice and experimentation, you will be able to master the art of adjusting the white balance to create beautiful and dynamic images.
Focusing on Unique Elements

Find unique elements to focus on when capturing travel photos to create intriguing images. From cultural artifacts to scenes that represent the sense of place, there are many elements that you should look for when you’re out exploring. Get creative and look for angles that haven’t been captured before. Look for interesting, colorful, and cultural elements, such as a person or object, to showcase the scale of landscapes or objects. Incorporate elements that relate to the destination, stand out, or seek out unexpected subjects for intriguing photos. Use flowers or aerial shots to frame the subject or capture the world from different points of view. Perspective can add depth and visual interest to photos, so try different angles and distances to get the desired effect. Interact with locals to learn about their culture and create a comfortable environment for capturing more genuine moments. Ask for permission before taking photos of people, and respect their decision if they decline. With practice and patience, you can capture unique elements and create impactful travel photos.
Creating Perspective and Depth

By including a subject in your shot, you can showcase the scale of landscapes or objects and create perspective and depth in your travel photos. To achieve this effect, use a person or object to provide size comparison and highlight the grandeur of the scene. Experiment with different angles and distances for the desired effect. Additionally, consider the sun’s position to ensure the best light for your shots. Shooting in the Golden or Blue Hour is often ideal, as the warm light can add a special touch to the photo.
To ensure you don’t miss any important details:
- Look through the viewfinder or LCD screen to make sure the entire frame is captured.
- Shoot multiple photos from the same spot to ensure you have plenty of options to choose from.
- When interacting with people, take the time to learn the local language and greetings, and be respectful and friendly. This will help create a comfortable atmosphere and allow you to capture more genuine smiles and moments.
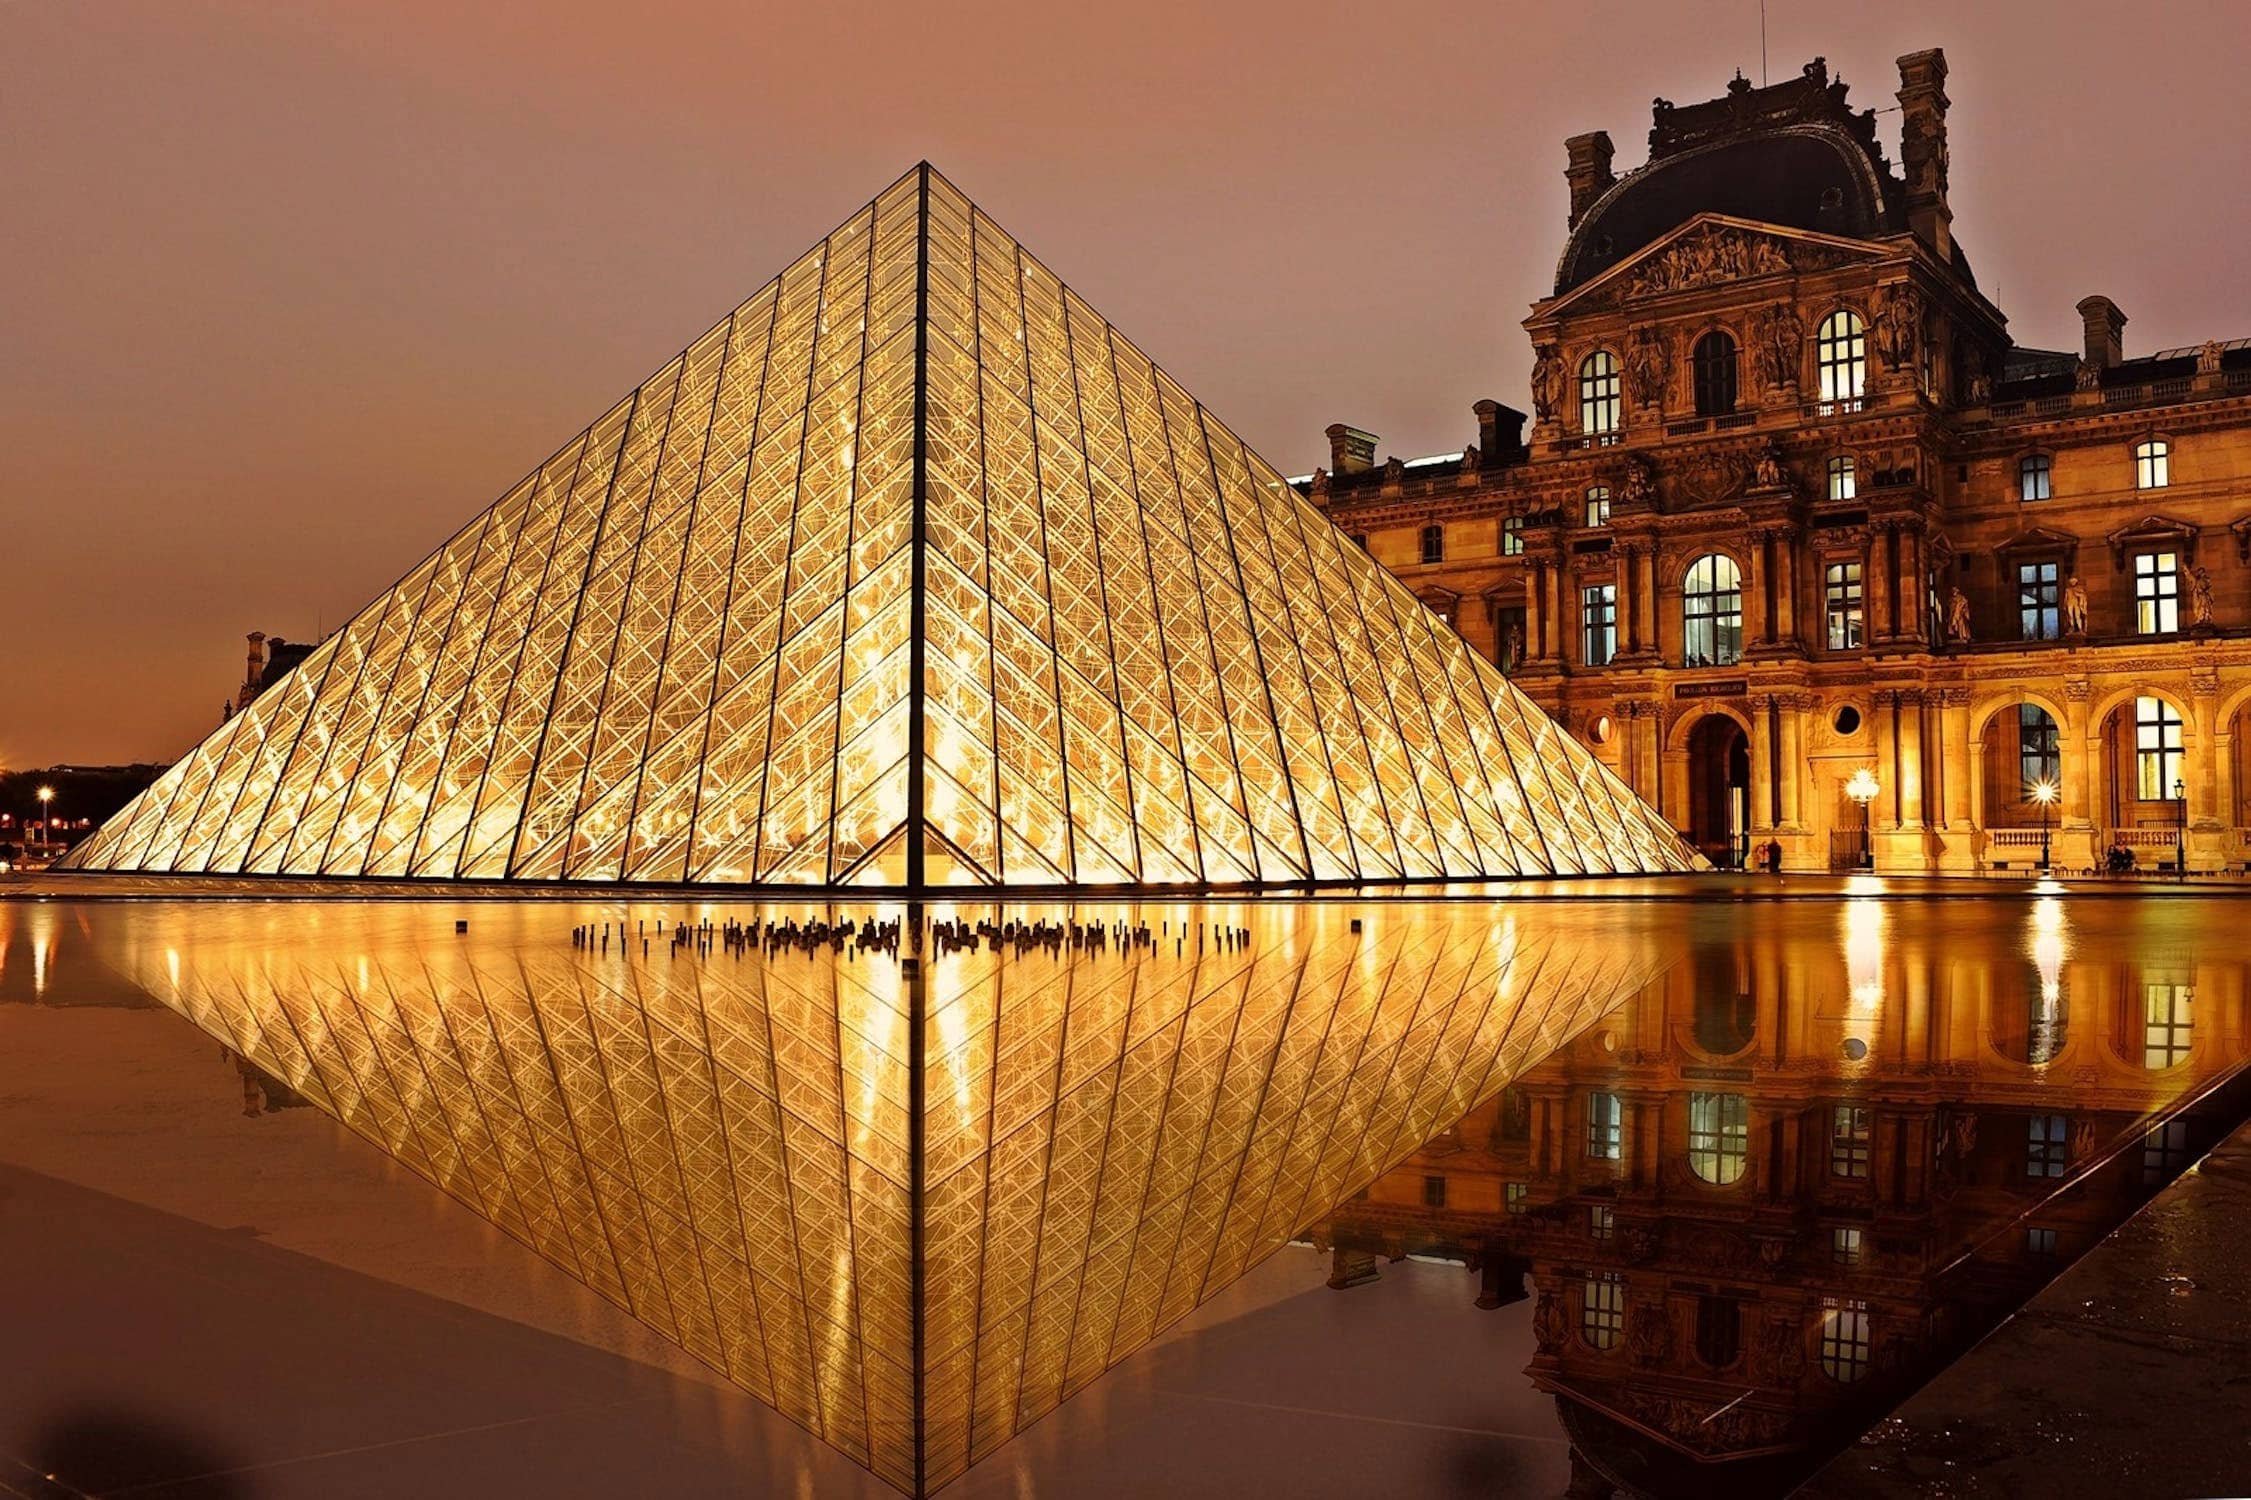
Lighting Techniques

Plan your photography around the best lighting conditions to capture stunning travel photos. Lighting is one of the most important elements when it comes to photography, and the best lighting can make or break a shot. Knowing the best time to take photos is key to getting the perfect shot. The Golden Hour and Blue Hour are two of the best times to take photos, as the light is softer and warmer. Wake up early and stay out late to get these shots, as many iconic tourist sites are best photographed during these times. Midday light can be harsh, so avoid shooting in the middle of the day. Be patient and wait for unexpected beautiful lighting conditions. For low light conditions, set your ISO higher or use a tripod to stabilize the camera. You can also experiment with different white balance settings to capture accurate colors. Knowing these lighting techniques will help you take stunning travel photos with the perfect lighting.
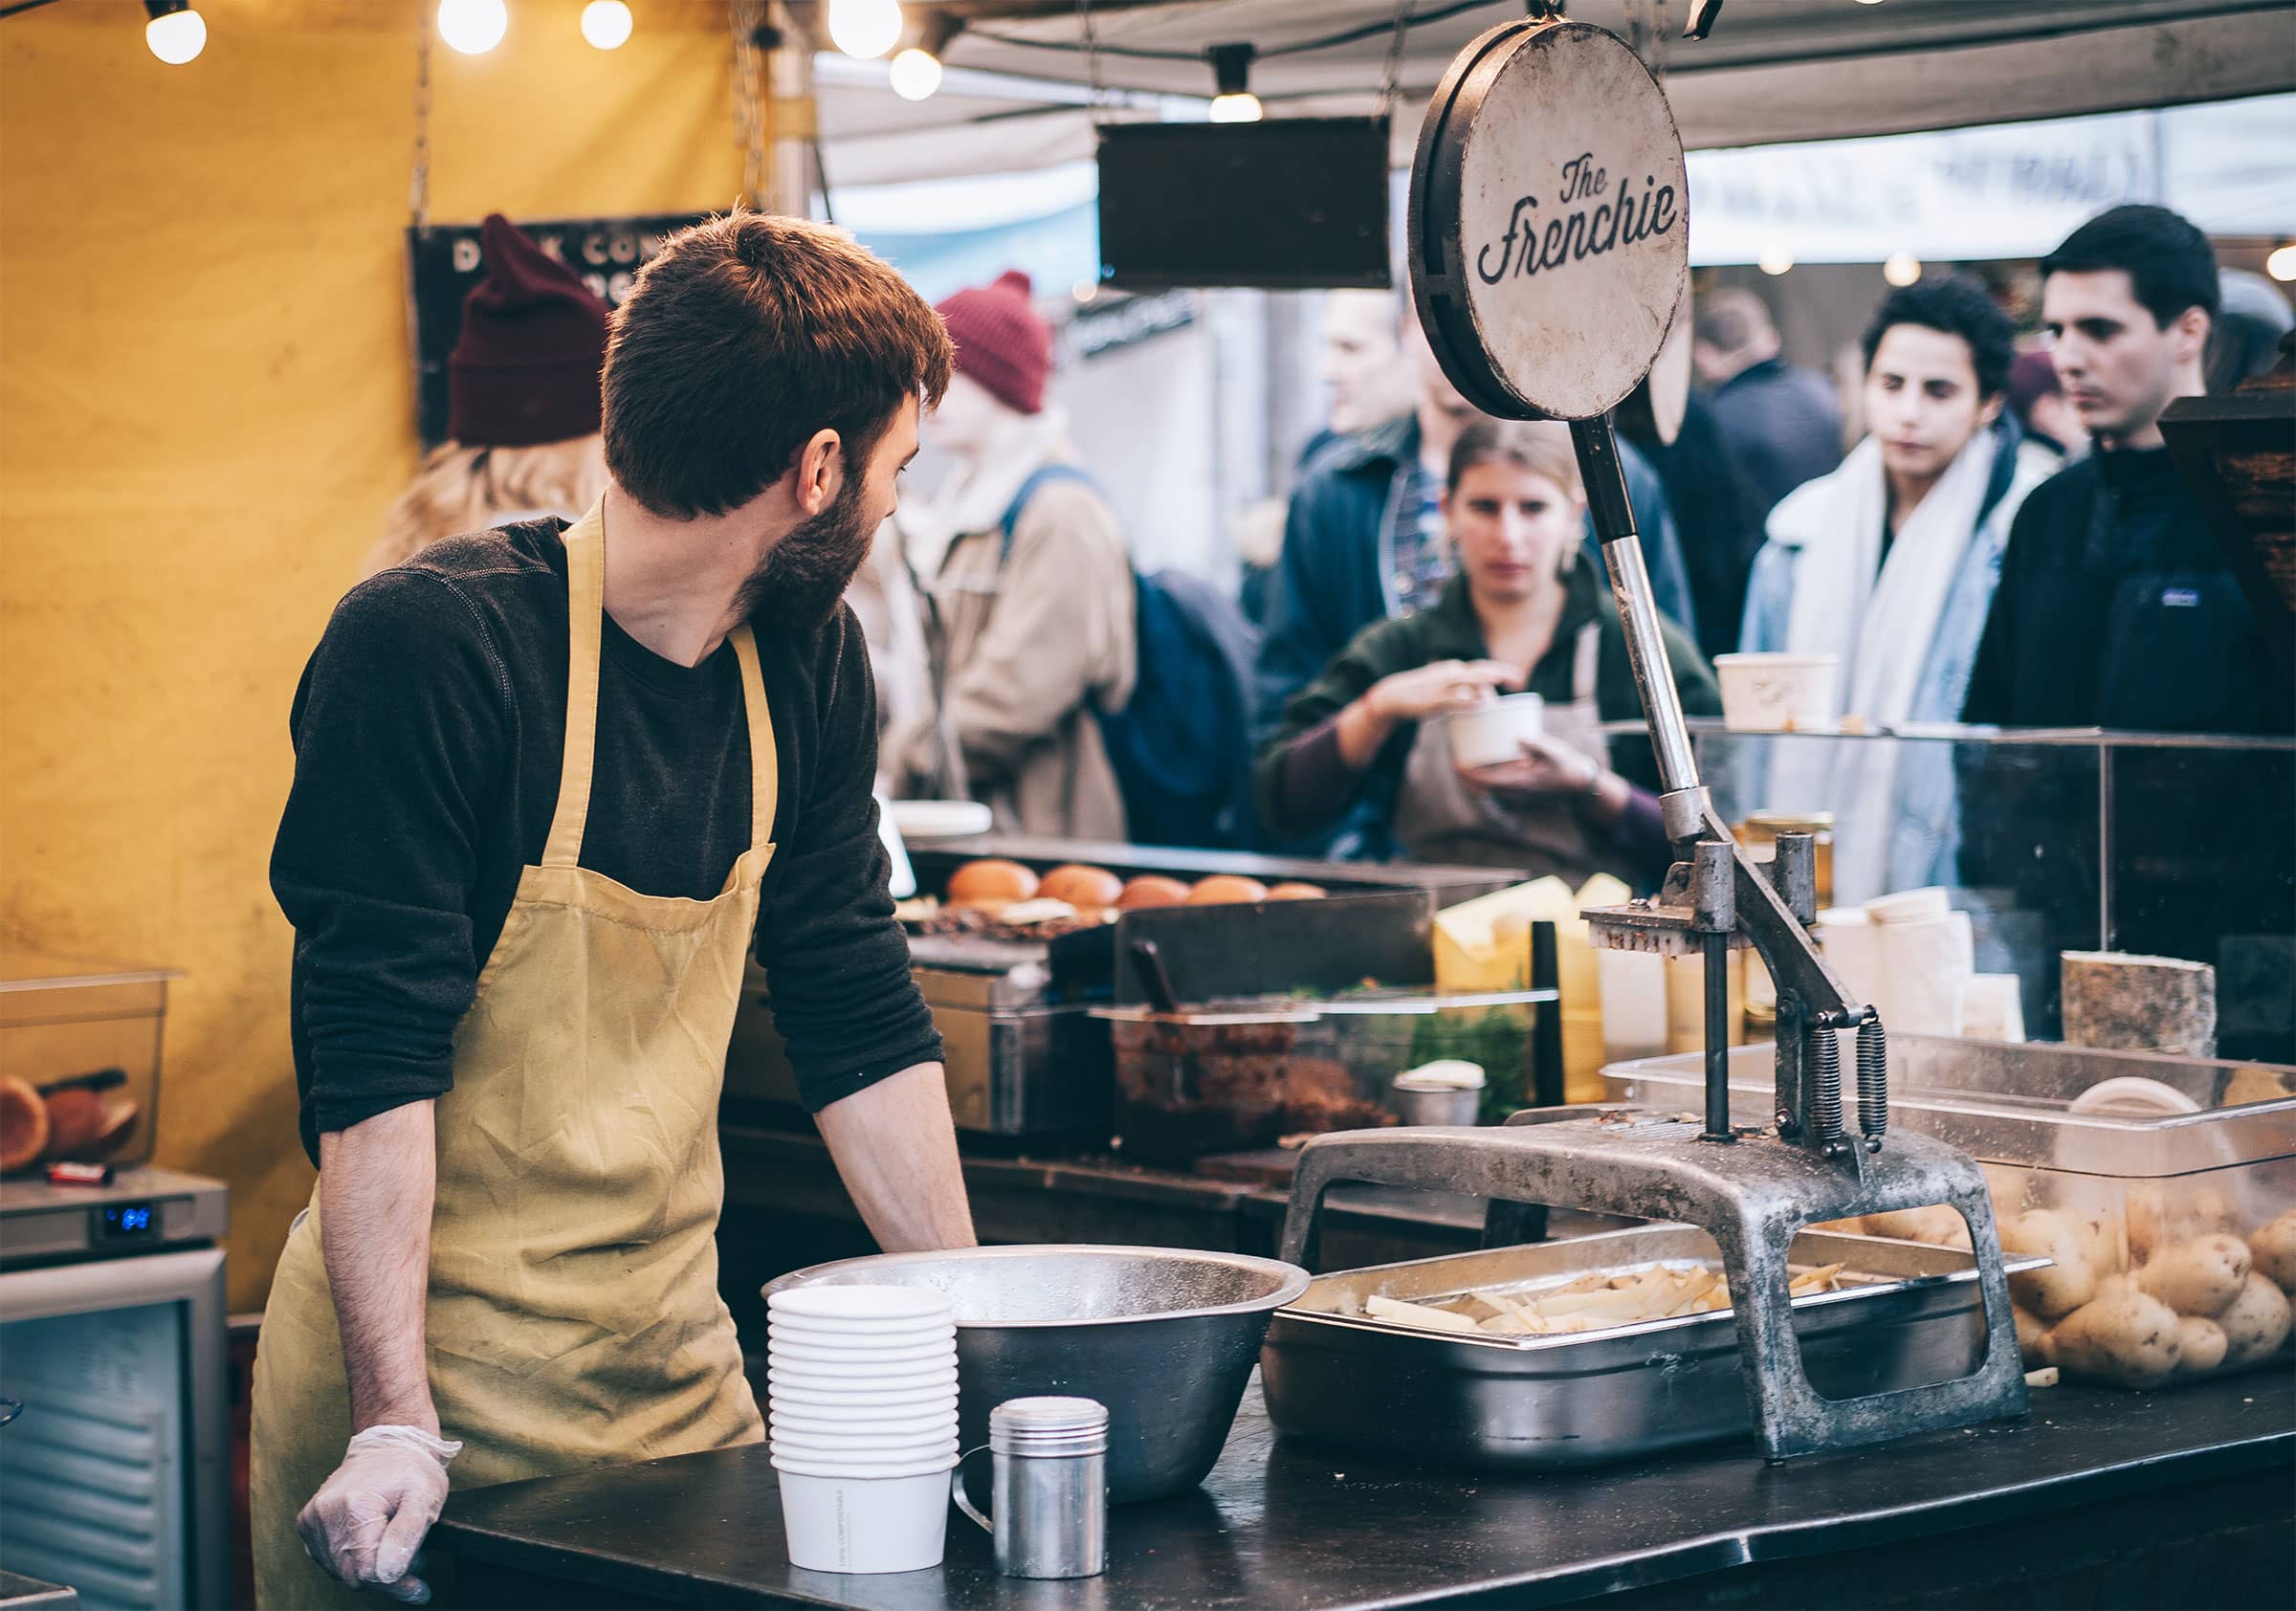
Interacting With People

Greeting locals in their language and interacting in a friendly and respectful manner can help you capture genuine smiles and moments while traveling. Even if you don’t speak the local language, learning a few basic greetings is enough to establish a connection and make people more comfortable with you. When photographing people, it’s important to always be mindful of cultural norms and sensitive to the feelings of others. If you ask permission before taking a photo, most people are more likely to be cooperative and willing to pose. Being friendly and respectful will put people at ease and allow you to capture more genuine expressions and moments.
When traveling, it’s also important to remember the importance of safety. Never put yourself in a situation that could be dangerous or uncomfortable. Be aware of your surroundings and be cautious of your interactions with people. If someone makes you feel uncomfortable or unsafe, trust your gut and walk away.
Travel photography can be a great way to capture the culture and spirit of a place. By interacting with people, you can capture the essence of the destination and the people you meet along the way. Remember to be respectful, friendly, and mindful of cultural norms. With a bit of practice and patience, you can become an expert at capturing the perfect shot!
Equipment and Camera Settings

Mastering your camera’s equipment and settings is essential for capturing stunning travel photos. Knowing what lenses to use, adjusting white balance, and understanding exposure settings are all important factors for taking great photos. Choose the right lenses for the desired photos; prime lenses are versatile for various types of photography. Manually adjust the white balance to control color temperature and set the white balance based on the type of light. The exposure triangle consists of aperture, ISO, and shutter speed, and balancing these three elements is crucial for achieving the desired exposure. Shooting in RAW format saves all the data captured without compressing it and allows for more flexibility in post-processing. Practice by taking portraits of family members or friends and using a smartphone to experiment with different techniques. Invest in a tripod to get steady shots; it will also enable creative techniques like long exposures. Lastly, feel comfortable and confident using your camera; it allows you to capture moments quickly.

